蛋白 糖霜餅乾的問題,透過圖書和論文來找解法和答案更準確安心。 我們找到下列訂位、菜單、價格優惠和問答集
蛋白 糖霜餅乾的問題,我們搜遍了碩博士論文和台灣出版的書籍,推薦荻田尚子寫的 零失敗!超簡單的巨大造型餅乾 和PetiteFleur的 微縮1/12!袖珍屋裡的軟陶麵包&甜點都 可以從中找到所需的評價。
另外網站內有驚喜的糖霜餅乾,節慶生日送禮超適合的啦!!也說明:下層是打底用。 4.組裝順序: 餅乾烤好放涼後,下層跟中層先用蛋白糖霜黏好,把糖片 ...
這兩本書分別來自布克文化 和Elegant-Boutique 新手作所出版 。
國立高雄餐旅大學 飲食文化暨餐飲創新研究所 陳建龍、葉文棠所指導 陳靜子的 添加菊苣纖維及木糖醇取代蔗糖對減糖戚風蛋糕品質之影響 (2020),提出蛋白 糖霜餅乾關鍵因素是什麼,來自於菊苣纖維、木糖醇、戚風蛋糕。
最後網站所有撇步都在這!超完整糖霜餅乾食譜 - 蘿卡好食則補充:這次除了分享糖霜餅乾食譜, 更收錄了蘿卡自己的成功小撇步喔! ... 150 g 糖粉/ icing sugar; 30 g 水/ water; 5 g 蛋白霜粉/ meringue Powder 惠爾 ...
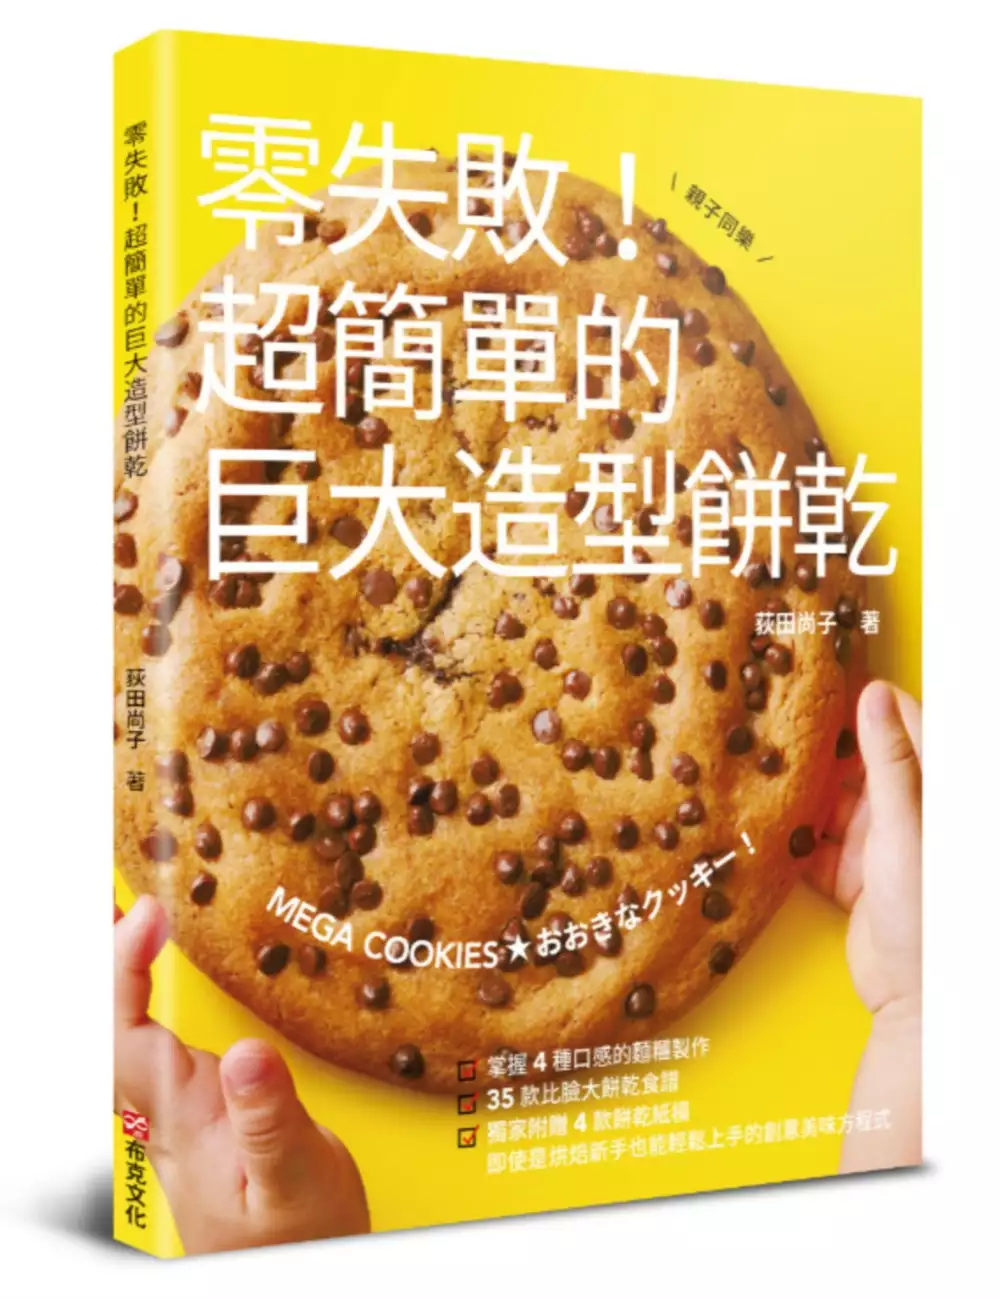
零失敗!超簡單的巨大造型餅乾
為了解決蛋白 糖霜餅乾 的問題,作者荻田尚子 這樣論述:
掌握4種口感的麵糰製作╳35款比臉大餅乾食譜╳獨家附贈4款餅乾紙模 即使是烘焙新手也能輕鬆上手的創意美味方程式 餅乾,是最不容易失敗且最受歡迎的點心,不論是自己食用還是送給親朋好友都可以。 而且自己做,不但可以有酥鬆、硬脆等不同口感外,更可以放入自己喜歡的配料、造型、色彩等做有創意的變化及選擇。 由日本最受歡迎的甜點研究家荻田尚子,用最簡單的方式,不用買模具,也不用特殊器具,只要用家裡有的道具即可簡簡單單製作超大型餅乾,看是做成一大片或是稍做創意整形,甚至稍作切割等都可以,不但小孩喜歡,大人也愛,非常適合當作主題派對的點心,例如:萬聖節、聖誕節、生日派對、新年聚會等節慶派
對等。趕快來學容易製作的大型餅乾,它在造型上、口味上絕對不會輸給市售的商品喔!咔嚓!每一口都香脆!用好心情做出搭配自由,適合聚會且容易成型的豪邁餅乾的新構想食譜! 美食家聯合推薦: - 暢銷食譜作家/LINA布魯媽媽 - 低醣食譜作家/生活美食家Nancy老師 - 甜點職人‧烘焙名師/呂昇達 - 美食作家/和菓子 - 暢銷作家/質男主廚張克勤 - REA手繪食譜/賴佳芬 所謂「甜食悅人」,人類對甜食帶來的喜悅感似乎有種與生俱來的偏好!甜點研究家荻田尚子老師,這次以俏皮的方式呈現餅乾的樣貌,強調「超簡單」且「大」,能輕鬆撥開餅乾不費力,美味與趣味兼具,完全能擊中所有孩子的心,同時也開啟
我對烘焙餅乾的動力,也推薦給大家,跟著這本書一起動手做,失敗機率絕對接近0! ── 暢銷作家 質男主廚張克勤 @特色1:教學超簡單,只要揉好放入烤箱即完成:只要把麵糰大大方方整型起來,送進烤箱烘焙一下就完成了。 @特色2:不必再買器材及模具,適合初學者入門:用STEP BY STEP教學的圖文對照方式,也不用再買器材或模具,即使初學者也能輕易上手。 @特色3:自己做材料安心,分享超容易:自己做,可以儘情把自己喜歡的口味加入,而且用料安心,做完除了可以自己吃,也可以和別人一起享用。 @特色4:簡單配料,餅乾也有如蛋糕口感:撒上配料,或是在兩張麵皮中間塞滿奶油,讓它們華麗變身,看起來和蛋糕沒兩
樣! @特色5:打造聚會上的亮點:在餅乾上面寫上祝福,或者利用書衣內側的紙模來做心型餅乾或薑餅人餅乾,讓歡樂的聚會變得更加繽紛。更適合應用在不同的節日慶祝,如情人節、聖誕節等等。 @特色6:還可自己創造不同口味:活用各式各樣的口感、風味與奶油來調配組合,變化萬千,絕對吃不膩。不管是哪一種,都能嘗到餅乾原本的美味喔。讓我們開開心心做餅乾,張大嘴巴咬下去吧!
蛋白 糖霜餅乾進入發燒排行的影片
Hello friends! December is finally here! Today we're going to share with you how to make a cutest mini gingerbread houses, it’s also a mug topper.
Christmas is coming. It's so much fun to have with your family to create these cutest mini gingerbread houses. Decorating the gingerbread house can be a great party idea, it's more fun than eating. Especially these tiny gingerbread houses mug toppers, they are adorable.
Making gingerbread dough is super easy. In this video, we’ll show you how to make the best gingerbread dough with fresh ginger to create a natural flavor. Using fresh ginger gives it an intense ginger flavor, and it’s easy to get, too. In addition to the dough recipe, we will also share with you how to easily make royal icing. Are you ready to have fun with us? Enjoy.
This is an #ASMR ver, you can check out the other version that with BGM and Voices in Chinese if you like:
https://youtu.be/f4KKEkmKOsI
---------------------------------------------------------------------------------------------
How to make Mini Gingerbread House Mug Topper Recipe
Mini Gingerbread House Mug Topper Recipe
🎄 Preparation:
➊ A mini gingerbread house template download link: https://drive.google.com/file/d/16UvJW9EbfkjbUShTVKdqI1HlU194e-7c/view
➋ piping bags and nozzles, or make a parchment bag for piping, 2mm is for sticking, 1.5mm is for decoration
🎄 Yields: Can make 14~16 gingerbread houses
✎ Ingredients
🎄 For the cookies
unsalted butter 125g, softened
brown sugar 90g
molasses 58g
egg 1, at room temperature
all purpose flour 370g
baking soda 5g
salt 2.5g
grated ginger 10g
ground cinnamon 1.5g
nutmeg powder 1g
🎄 For the Royal Icing
vanilla extract 1.5g
powdered sugar 200g, sifted
powdered egg white 7.5g
warm water 25g~30g
✎ Instructions
🎄 For the cookies
1. In a large bowl, add butter, sugar and molasses, beat on mid-low speed, mix well until light and smooth.
2. Add egg and ginger, beat on medium speed until well combined. Scrape down the sides and the bottom of the bowl and beat again if needed to combine.
3. Sift the flour, baking soda, ground cinnamon, nutmeg powder and salt.
4. Fold in all dry ingredients, continue to mix until well blended, the dough should come together.
5. Transfer the dough out onto a work surface and knead until the dough is smooth and combined. Wrap the dough with plastic wrap and place in the fridge for 1 hour to chill.
6. Preheat the oven to 170°C.
7. Lightly flour the work surface and roll the dough to about 3mm thick.
8. Dust the dough lightly with flour to avoid sticking. Place the house pattern pieces on the dough, dip the knife into flour and cut out the pattern pieces from the dough (cut the door, but remove it after baking). You will need TWO of each shape.
9. Bake at 170°C for 10 minutes or until the edges are just beginning to brown. Large pieces will need more time.
10. Once baked, cut the door first, and then remove all cookies on racks to cool completely.
🎄 For the royal icing
1. Sieve the 200g of powdered sugar and 7.5g of powdered egg white in a bowl.
2. Add 1.5g of vanilla extract and 25g of warm water and beat at medium speed for 5 minutes.
3. Fill the Pastry Bag With Royal Icing. You will need at least two piping bags, one is for a thick line to glue the pieces of house together. Another one is a thin line to decorate the house. The royal icing is the best icing to use for gingerbread houses, it'll dry hard and last throughout the holiday season.
🎄 Assembling
1. Start with the front and the back pieces and two sides, then take the side piece and stick them together, do the same with the other side.
2. Grab the back piece and give it a nice firm. Then the base of the house is done. Wait for the icing sets before adding the roof.
3. Sticking the roof pieces in the same way, add lines of icing on all the edges, hold them together and allow the icing to set. It's probably best to let this dry overnight that way all the royal icing is definitely hard before decorating.
4. You can decorate with any pattern you like and custom detail. You can practice how to draw a line or draw a pattern on a board or plate before putting them on your house. But remember, once finished the decorating, please let the icing dry for a couple hours. Have fun.
-----------------------------------------------------------------------
Chapters:
00:00 opening
00:32 ingredients
01:28 Making gingerbread dough
04:52 Dividing, rolling and cutting(gingerbread house and gingerbread man)
07:29 Set the oven, let it cool off
08:04 Making Royal icing
09:00 Handmade Piping bag
09:49 Assembling
12:01 Final result
-----------------------------------------------------------------------
* Kevin MacLeod創作的「Deck the Halls」是依據 創用 CC (姓名標示) 4.0 授權使用。 https://creativecommons.org/licenses/by/4.0/
來源: http://incompetech.com/music/royalty-free/index.html?isrc=USUAN1100263
演出者: http://incompetech.com/
添加菊苣纖維及木糖醇取代蔗糖對減糖戚風蛋糕品質之影響
為了解決蛋白 糖霜餅乾 的問題,作者陳靜子 這樣論述:
由於菊苣纖維為人體消化道酵素所不能分解,故不具熱量、木糖醇的熱量僅為蔗糖的60%,且加熱時甜味不易消失適用於食品加工,因此本研究以菊苣纖維及木糖醇,分別以不同比例的量取代蔗糖製成低熱量的戚風蛋糕,探討對減糖戚風蛋糕品質之影響。結果顯示,無論以菊苣纖維、木糖醇或混合兩種不同比例的菊苣纖維與木糖醇取代蔗糖的蛋白液,其蛋白起泡能力皆較僅添加蔗糖者為高;以菊苣纖維取代蔗糖的蛋白霜,泡沫安定性較控制組為佳,單以木糖醇或混合不同比例菊苣纖維與木糖醇取代蔗糖的蛋白糖霜,泡沫安定性皆較控制組為差;以菊苣纖維取代蔗糖的蛋糕麵糊,黏度隨著菊苣纖維添加量增加而下降,而以木醣醇取代蔗糖的蛋糕麵糊,黏度值僅以50%取
代者顯著較控制組為低,其他取代比例則無顯著差異,混合兩種不同比例的菊苣纖維與木糖醇取代蔗糖的蛋糕麵糊,則黏度與控制組無顯著差異;由麵糊比重的結果發現,無論以菊苣纖維、木糖醇或混合兩種不同比例的菊苣纖維與木糖醇取代蔗糖所製成的麵糊,摻入的空氣含量皆較純以蔗糖的組別為高,烘烤後蛋糕的比體積皆較控制組為低;菊苣纖維及木糖醇的添加皆會使蛋糕的表皮色澤變的較淡;添加菊苣纖維的蛋糕質地會較硬,而添加木糖醇者則較為柔軟;添加菊苣纖維、木糖醇皆有助於冷藏期間的保濕性;而以50%菊苣纖維或100%木糖醇取代蔗糖的減糖戚風蛋糕,在 9 分官能品評中的外觀顏色、香氣、口感及整體接受性等各項指標皆高於 5 分以上,為
消費者可接受的產品。
微縮1/12!袖珍屋裡的軟陶麵包&甜點
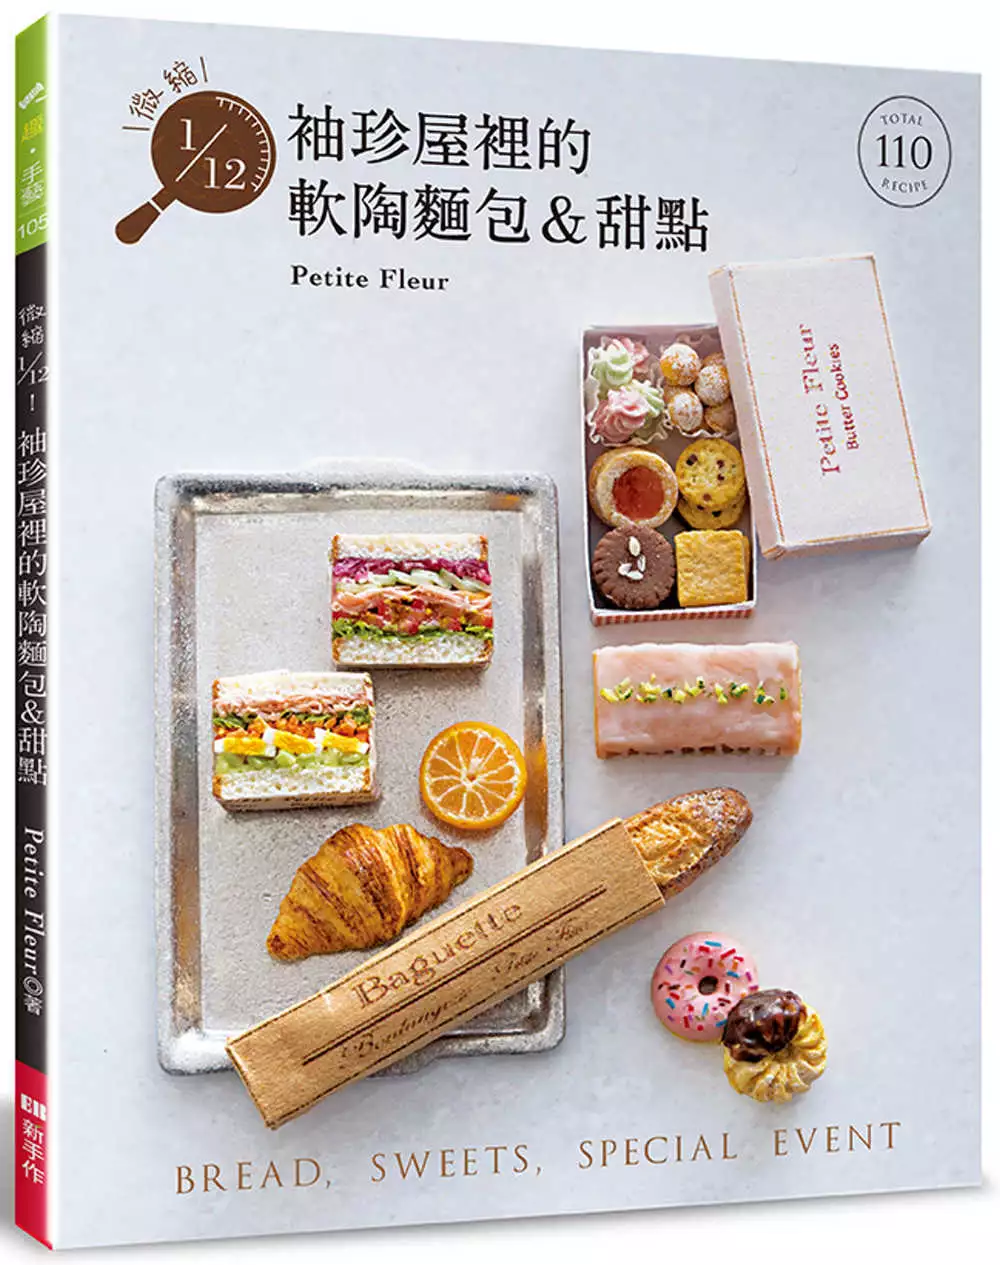
為了解決蛋白 糖霜餅乾 的問題,作者PetiteFleur 這樣論述:
指尖上的1/12軟陶烘焙教室 只要有家用烤箱+軟陶,就能在家自己作袖珍娃娃屋&公仔玩具都適用的 逼真美味麵包&甜點食玩。 Bread, Sweets 以軟陶為主材料 ‧軟陶是一種熱固性黏土。將家庭用烤箱預熱至130℃後,放入軟陶烘烤30分鐘,即可定型。 在未加熱固化前,可進行無數次造型修正,因此可在無時間壓力的狀況下,依自己的步調完成理想的作品。 ‧軟陶的色彩表現力優秀。各色彩的軟陶土可相互混色,調整至最接近實品的顏色。或以不均勻的混合手法,表現出漸層感與大理石紋路。 ‧軟陶的質地較硬,特別適合製作細緻的袖珍作品。烘烤定型後,亦可以壓克力顏料進行上色。製作食物型作品時
,簡單增添上微焦感的烤色痕跡,更能提升成品的仿真度。 Others配件&特殊質地 ‧搭配白瓷器、透明器皿,能讓食物加倍美味,更能打造出具有生活場景感的畫面。 ‧若想表現液體與淋醬、糖霜等質感,結合UV膠、液態軟陶、嬰兒爽身粉等材料,袖珍美食必學的技巧也有清楚教作示範。 Step by step清楚作法圖解 軟陶塑型、組合、細節針&牙籤的運用、表面質感紋路的添加……都可參照作品教作逐步進行。